Kia Sportage: Rear Suspension System / Rear Lower Arm Repair procedures
Kia Sportage QL (2015-2026) Service Manual / Suspension System / Rear Suspension System / Rear Lower Arm Repair procedures
| Removal |
| 1. |
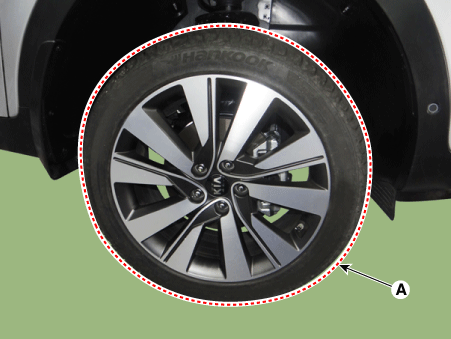
Remove wheel nuts, wheel and tire (A) from hub.
|
| 2. |
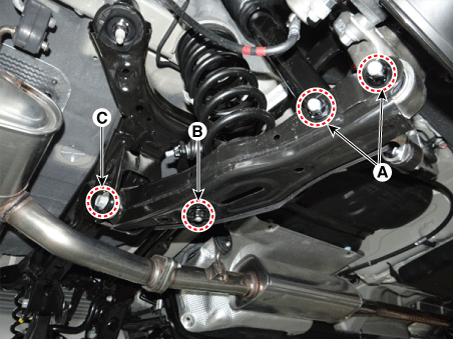
Loosen the bolts and nuts (A,B,C) and then remove the lower arm.
|
| 3. |
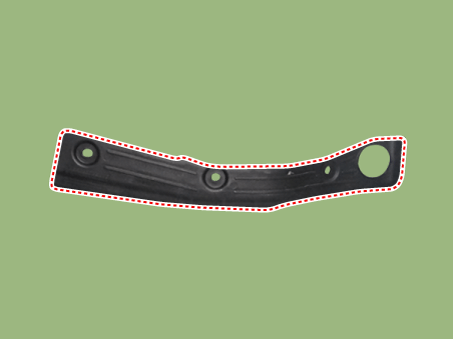
Remove the lower arm protector.
|
| 4. |
Install in the reverse order of removal.
|
| 5. |
Check the wheel alignment.
(Refer to Tires/Wheels - "Alignment")
|
| Inspection |
| 1. |
Check the bushing for wear and deterioration.
|
| 2. |
Check the rear lower arm for deformation.
|
| 3. |
Check the coil spring and spring pad for deterioration and deformation.
|
| 4. |
Check for all bolts and nuts.
|
 Rear Shock Absorber Repair procedures
Removal
1.
Remove wheel nuts, wheel and tire (A) from hub.
Tightening torque:
107.9 - 127.5 N·m (11.0 - 13.0 kgf·m, 79.6 - 9 ...
 Rear Upper Arm Repair procedures
Removal
1.
Remove wheel nuts, wheel and tire (A) from hub.
Tightening torque:
107.9 - 127.5 N·m (11.0 - 13.0 kgf·m, 79.6 - 9 ...
Other information:
Kia Sportage QL (2015-2026) Service Manual: Rear Seat Back Cover Repair procedures
Replacement [LH] Put on gloves to protect your hands. • Use a plastic panel removal tool to rem ...
Kia Sportage QL (2015-2026) Service Manual: Components and components location
Component Location Index Engine Room [LHD] 1. Ambient temperature Sensor 2. Receiver-drier 3. Condenser 4. Compressor 5. Discharge Hose 6. Service Port (Low Pressure) 7. Service Port (High Pressure) 8. A/C P ...
Copyright © www.ksportagegl.com 2015-2026


