Kia Sportage: Driveshaft Assembly / Front Driveshaft Repair procedures
Kia Sportage QL (2015-2026) Service Manual / Driveshaft and axle / Driveshaft Assembly / Front Driveshaft Repair procedures
| Removal |
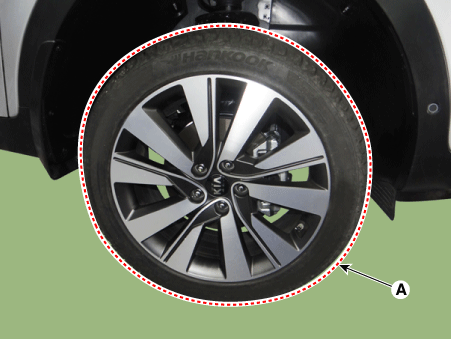
| 1. |
Remove wheel nuts, wheel and tire (A) from hub.
|

| 2. |
Remove the under cover.
(Refer to Engine Mechanical System - "Engine Room Under Cover")
|
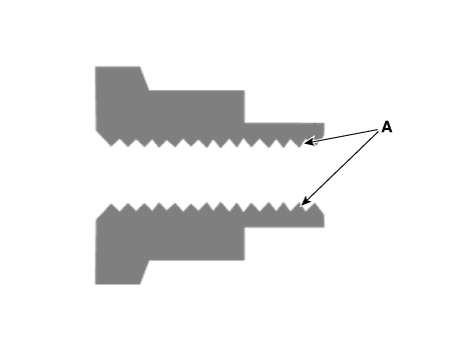
| 3. |
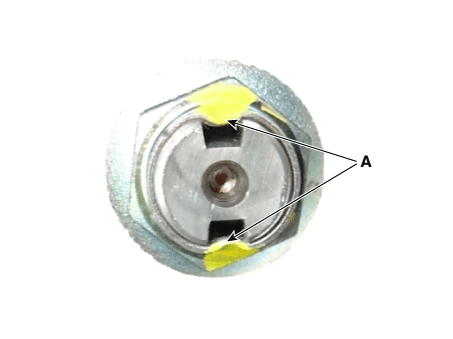
By hammering on a chisel, unlock the driveshaft lock hub nut caulking.
|
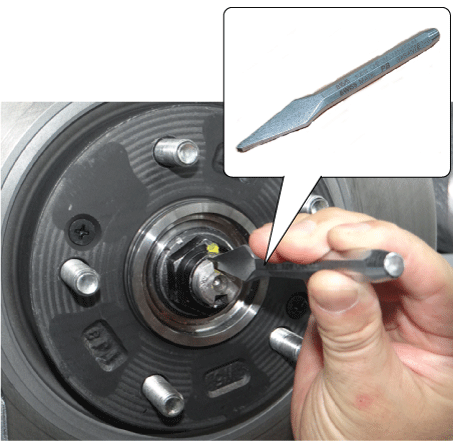

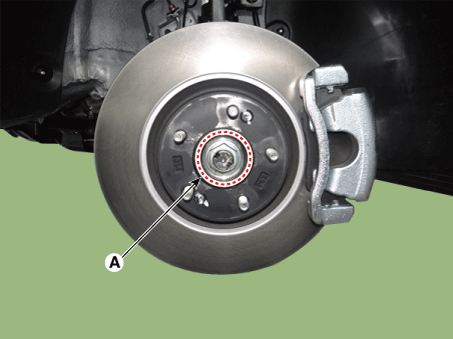
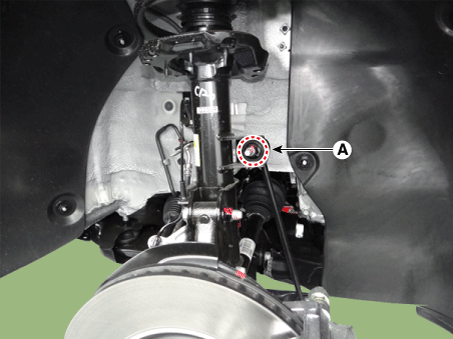
| 4. |
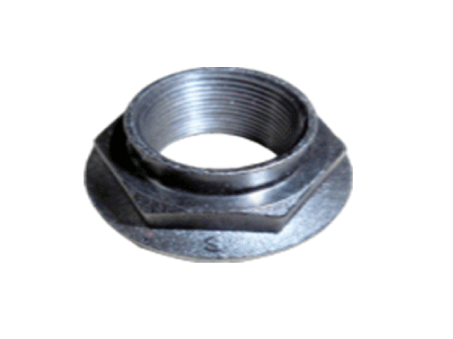
Remove the caulking nut (A) from the front axle.
|
| 5. |
Remove the front brake caliper.
(Refer to Brake System - "Front disc brake")
|
| 6. |
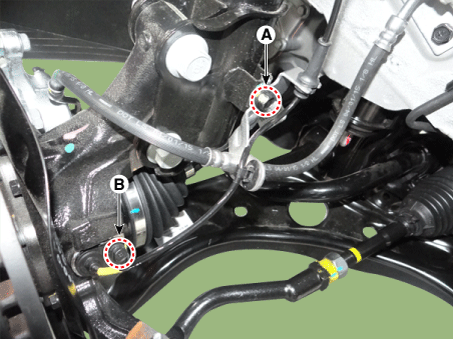
Loosen the speed wheel sensor bolt (B) and brake hose bracket bolt (A).
|
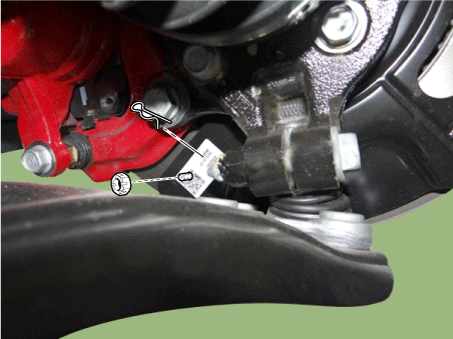
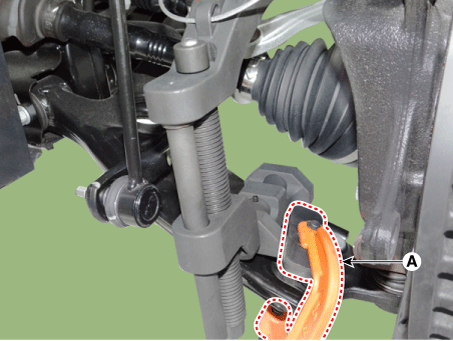
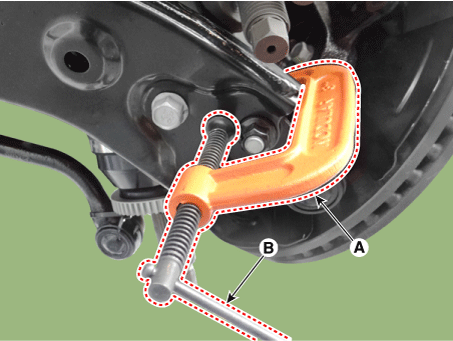
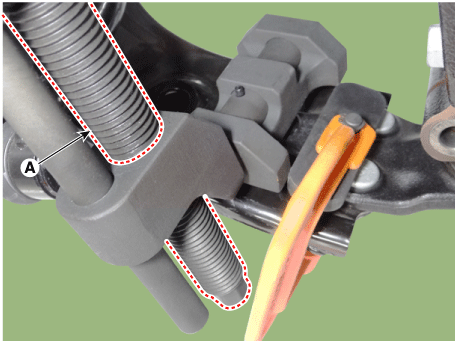
| 7. |
Loosen the pin and nut and then remove the tie rod end (A).
|

| 8. |
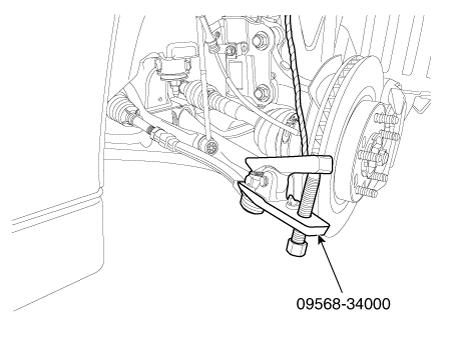
Remove the tie rod end ball joint from the knuckle by using the SST
(09568-34000).
|
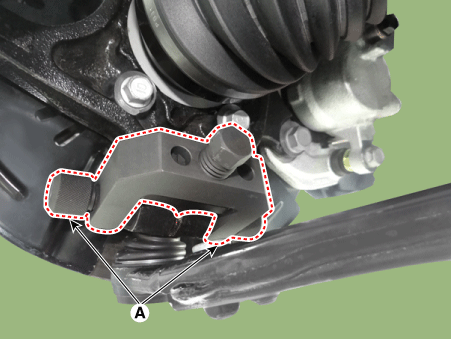
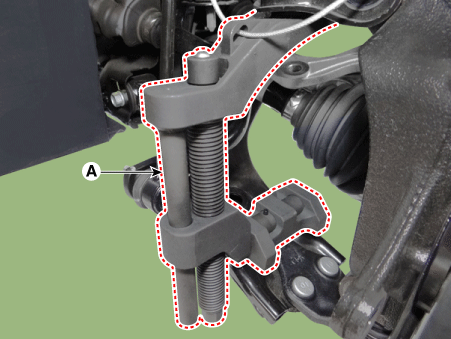
| 9. |
Loosen the pin (A), and then remove the lower arm nut (B).
|
| 10. |
Remove the front lower arm from the front knuckle using the SST (0K545-A9100).
|
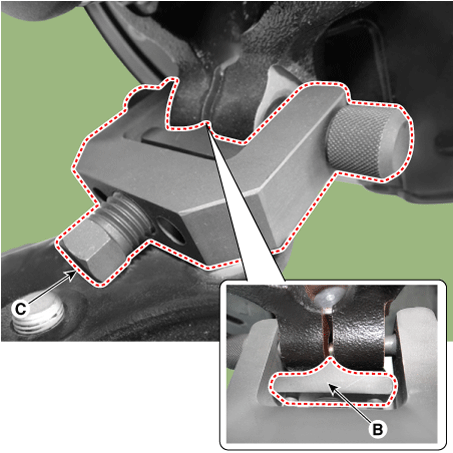
| 11. |
Loosen the stabilizer link nut (A).
|
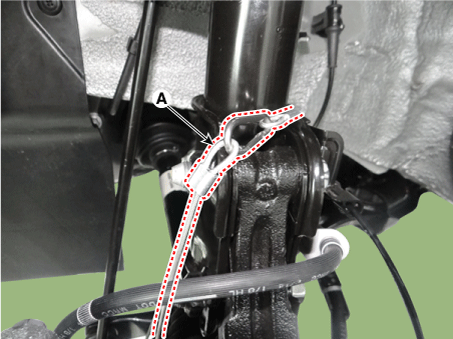
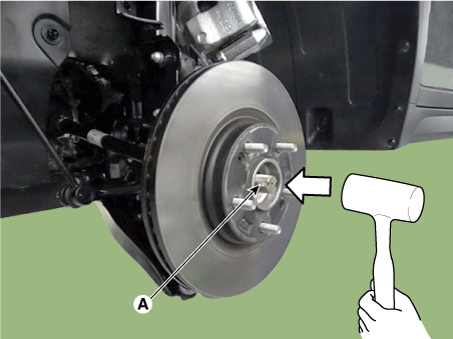
| 12. |
Using a plastic hammer, disconnect driveshaft (A) from the axle hub.
|
| 13. |
Using the pry bar, remove the shaft (A). (Equal type only)
[RH]
|
| 14. |
Loosen the bearing bracket bolts (A). (Equal type only)
[RH]
|
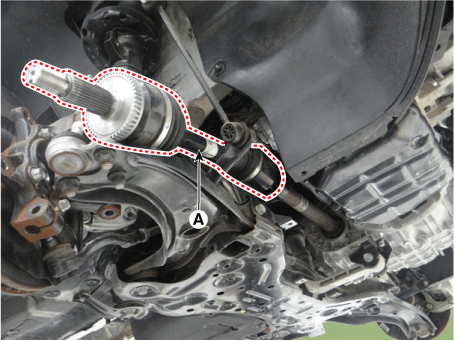
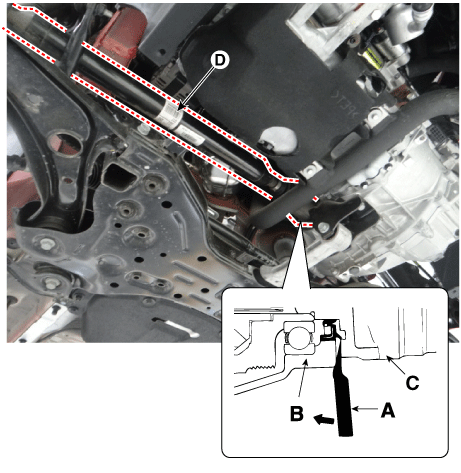
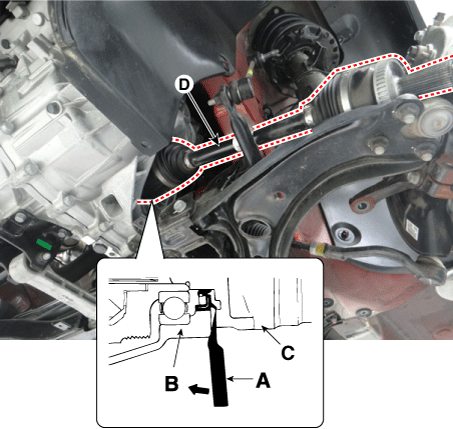
| 15. |
Insert a pry bar (A) between the transaxle case (B) and joint case (C),
and separate the drive shaft (D) from the transaxle case. [RH,LH]
[Equal type RH]
[Unequal type RH]
[LH]
|

| 16. |
Install in the reverse order of removal.
|
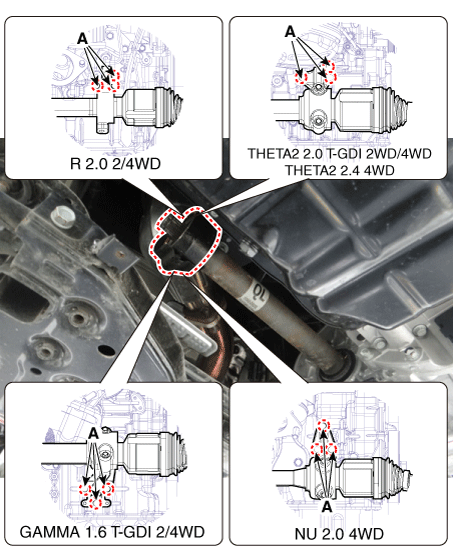
 Front Driveshaft Components and components location
Component Location (1)
[Equal type]
1. Drive shaft (LH)
2. Drive shaft (RH)
3. Inner shaft bearing bracket
[Unequal type]
...
 TJ Joint Repair procedures
Replacement
•
Special grease must be applied to the driveshaft joint. Do not
s ...
Other information:
Kia Sportage QL (2015-2026) Owners Manual: Check headlight
This warning message illuminates if there is a malfunction (burned-out bulb except LED lamp or circuit malfunction) with the headlamp. In this case, have your vehicle inspected by an authorized Kia dealer. ✽ NOTICE When replacing the bulb, use the same wattage bulb. For more information ...
Kia Sportage QL (2015-2026) Owners Manual: Moving up a steep grade from a standing start
To move up a steep grade from a standing start, depress the brake pedal, shift the shift lever to D (Drive). Select the appropriate gear depending on load weight and steepness of the grade, and release the parking brake. Depress the accelerator gradually while releasing the service brakes. Wh ...
Copyright © www.ksportagegl.com 2015-2026
