Kia Sportage: Differential Carrier Assembly / Rear Differential Carrier / Repair procedures
| Removal |
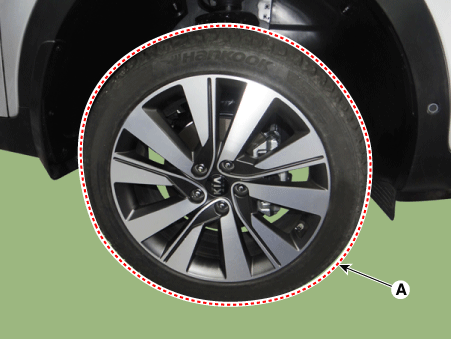
| 1. |
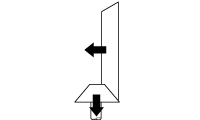
Remove wheel nuts, wheel and tire (A) from hub.
|

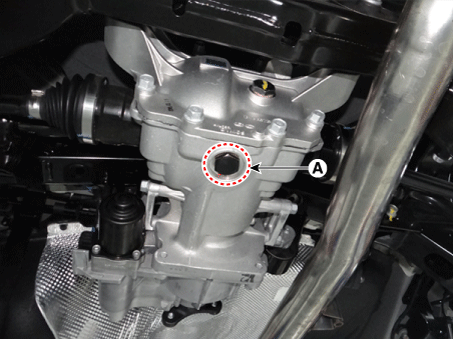
| 2. |
Loosen the drain plug (A) and pull out the differential gear oil.
|
| 3. |
Remove the rear driveshaft.
(Refer to Rear Driveshaft Assembly - "Rear DriveShaft")
|
| 4. |
Remove the propeller shaft.
(Refer to Propeller Shaft Assembly - "Propeller Shaft")
|
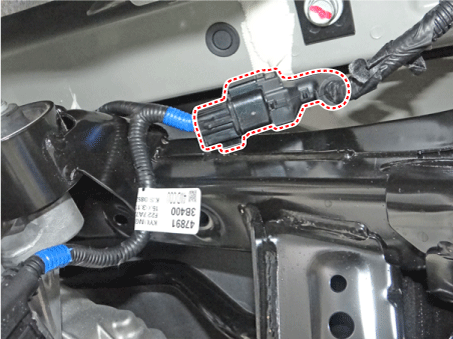
| 5. |
Disconnect the connector from the coupling.
|
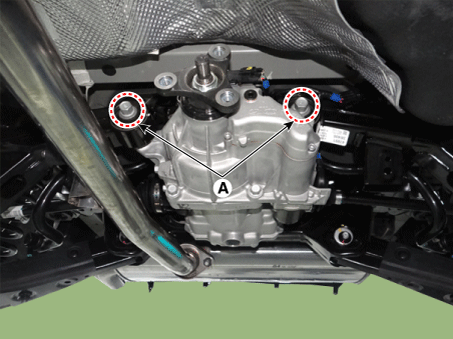
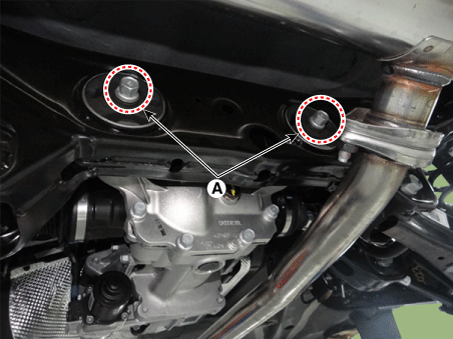
| 6. |
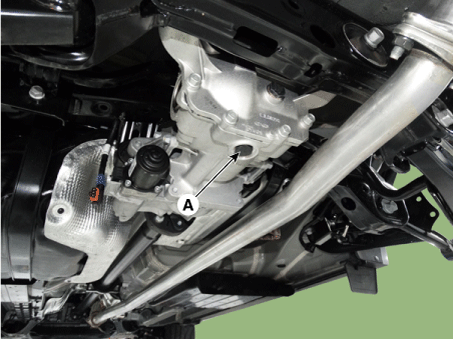
Loosen the differential mounting bolts (A) and then remove the rear
differential assembly.
|
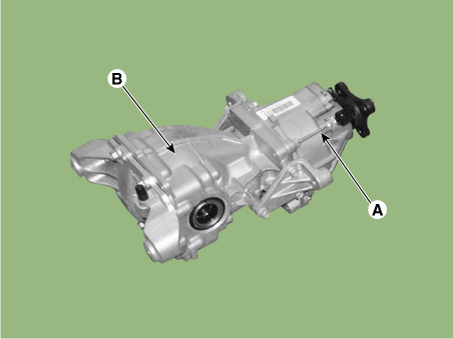
| 7. |
Loosen the bolts and then remove the coupling (A) and differential carrier
(B).
|
| 8. |
Loosen the bolts and then remove the differential carrier bracket.
|

| 9. |
Install in the reverse order of removal.
|
| 10. |
Check the wheel alignment.
(Refer to Suspension System - "Alignment")
|
| Disassembly |
| Differential case disassembly |
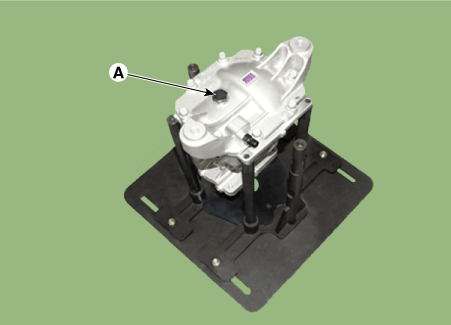
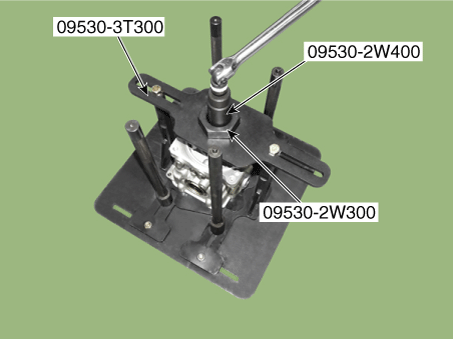
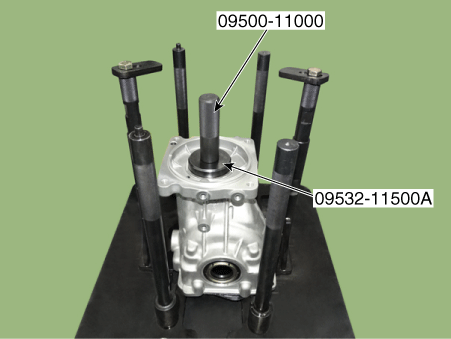
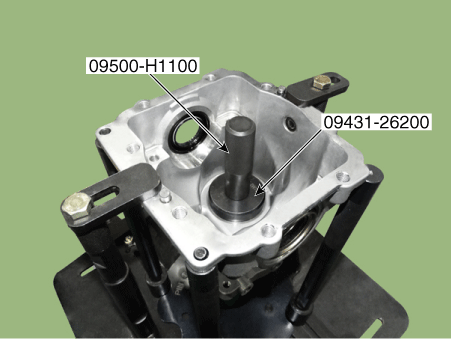
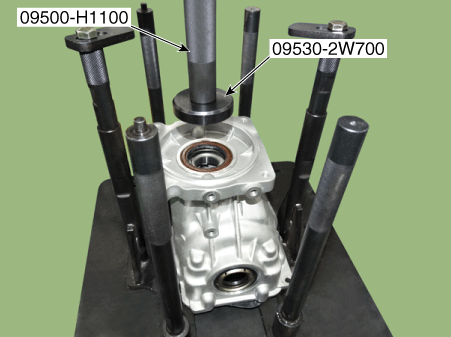
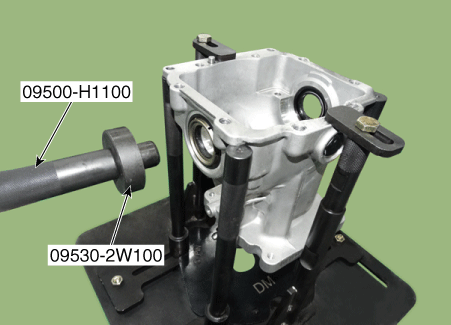
| 1. |
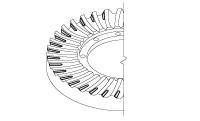
Using the SST (09530-3T300), hold the differential assembly safely and
then loosen the pillar plug (A).
|
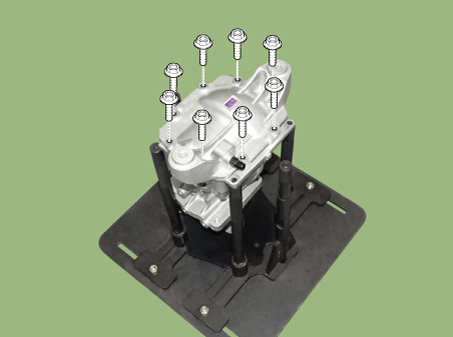
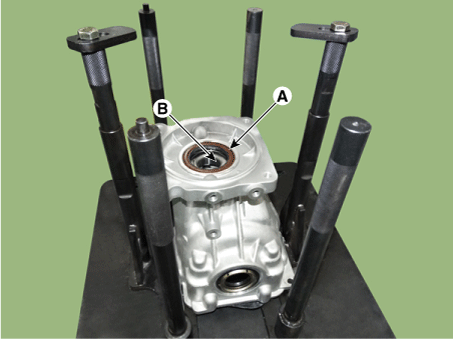
| 2. |
Loosen the cover bolts and then remove the cover.
|
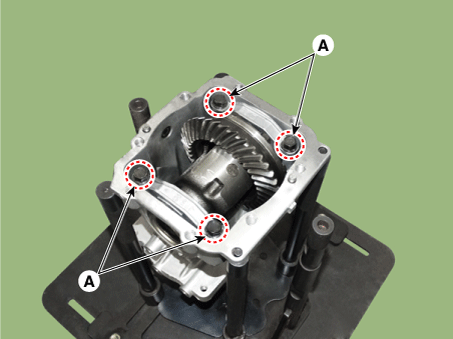
| 3. |
Loosen the bolts and then remove the bearing cap (A).
|

| 4. |
Remove the differential case assembly.
|
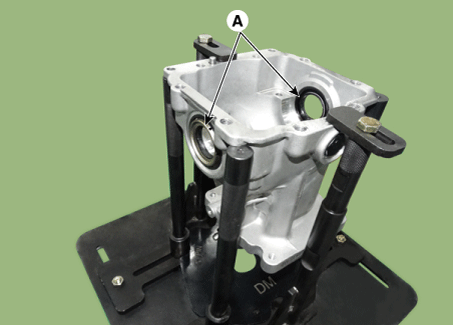
| 5. |
Using the screwdriver, remove the left and right side oil seal (A).
|
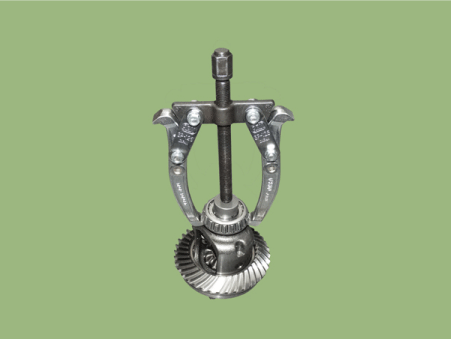
| 6. |
Using the SST (09501-C9200) and the pully remove the front and rear
bearing.
|
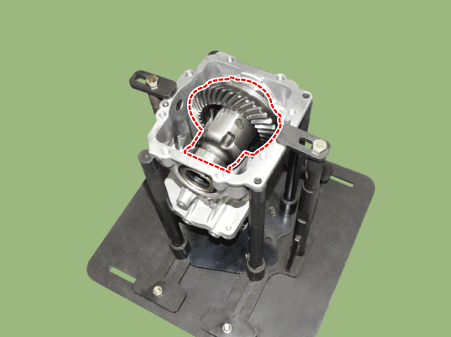
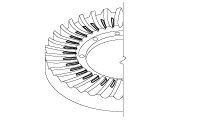
| 7. |
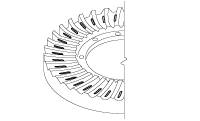
Loosen the seal bolts and then remove the gear carrier (A) and ring
gear (B).
|
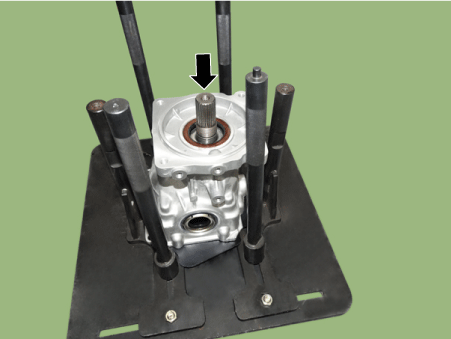
| Pinion drive gear assembly |
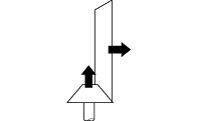
| 1. |
Using the SST, remove the pinion lock nut.
|
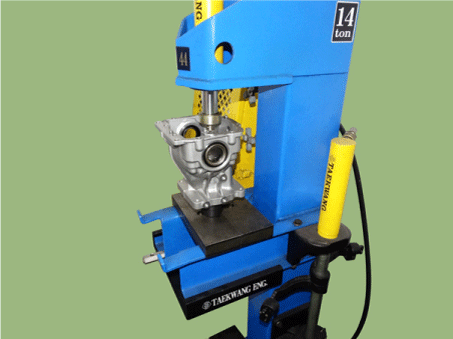
| 2. |
Using the press, separate the pinion drive gear assembly.
|
| 3. |
Remove the pinion oil seal (A) and the pinion front bearing (B).
|
| 4. |
Using a hammer and chisel, remove the pinion bearing outer race.
|
| 5. |
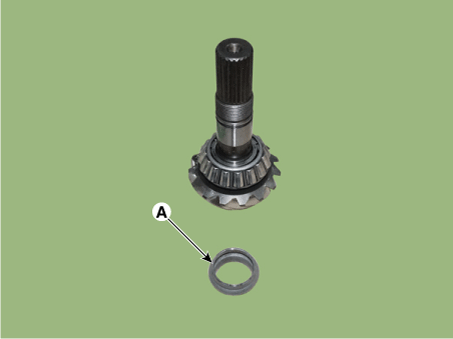
Remove the pinion bearing spacer (A).
|
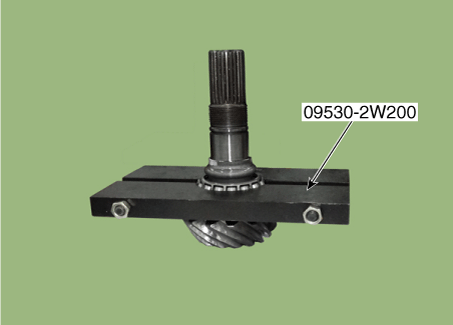
| 6. |
Using the SST (09530-2W200), press the pinion drive gear and then remove
the pinion rear bearing.
|
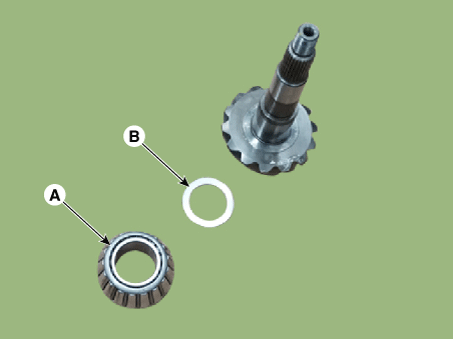
| 7. |
Remove the pinion frontbearing (A), Inner bearing adjustment shim (B)
in the order.
|
| Inspection |
| 1. |
After clearing, check for damage parts or abrasion. Follow the below
method, if any are noticed.
|
|||||||||||||||||||||||
| Reassembly |
|
| [Differential carreir] |
| 1. |
Using the SST, install the pinion front bearing outer race.
|
| 2. |
Using the SST, install the pinion rear bearing outer race.
|
| 3. |
Install the pinion front bearing (A), Inner bearing adjustment shim
(B) in the order.
|
| 4. |
Using the round pipe, press in the pinion rear bearing (B).
|
| 5. |
Install the pinion bearing spacer (A).
|
| 6. |
Install the pinion front bearing and then install the pinion oil seal.
|
| 7. |
Using the press, install the pinion drive gear to the differential carrier.
|
| 8. |
Using SST, install the side oil seal.
|
| 9. |
Using SST, install the pinion lock nut.
|
| 10. |
Measures the pinion freeroad.
|

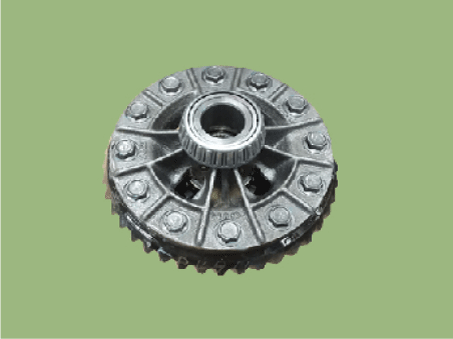
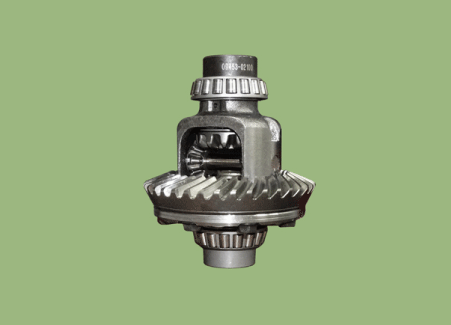
| [Differential case assembly] |
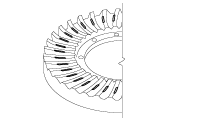
| 1. |
Install the gear carrier and ring gear.
|
| 2. |
Using the SST (09543-02100) and press, install the side bearing.
|
| 3. |
Install the differential case assembly to the differential carrier.
|
| 4. |
Install the bearing cap (A).
|
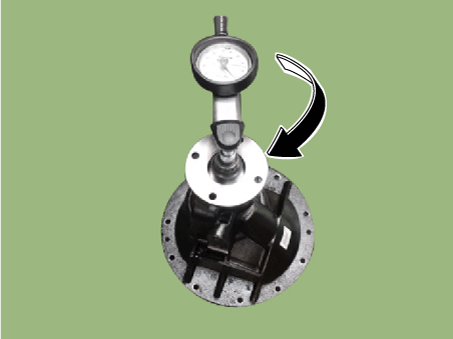
| 5. |
Measures the gear backrash.
|
| 6. |
Measures the total freeroad.
|
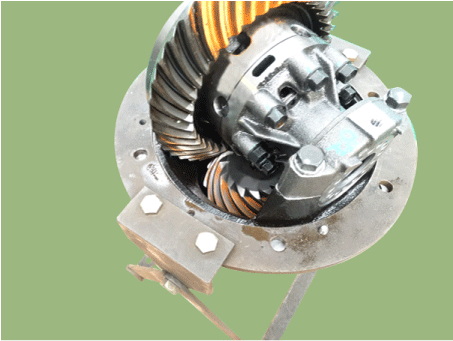
| 7. |
Apply the red lead paint to the ring gear teeth and then rotate the
gear in order to check the tooth contact pattern.
|
||||||||||||||||||||||||||||

| 8. |
Coat sealant (A) on the rear cover surface.
|
| 9. |
Install the differential rear cover (A).
|
| 10. |
Install the drain plug (A).
|
| 11. |
Inject the gear oil.
|

| 12. |
Install the pillar plug.
|
 Components and components location
Components Location
1. Rear driveshaft LH
2. Coupling assembly
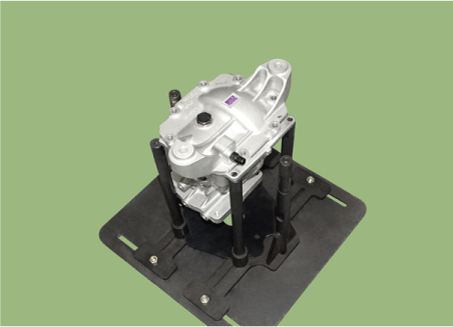
3. Rear differential carrier assembly
4. Rear driveshaft RH
5. Propeller shaft
...

Other information:
Kia Sportage QL (2015-2026) Service Manual: Components and components location
Component 1. Steering column 2. Multifunction switch 3. Screw 4. Steering angle sensor 5. Clock spring [LHD] [RHD] ...
Kia Sportage QL (2015-2026) Owners Manual: Automatic climate control system
■ Type A ■ Type B 1. Driver’s temperature control knob 2. AUTO (automatic control) button 3. Front windshield defroster button 4. Rear window defroster button 5. Air conditioning button 6. Air intake control button 7. OFF button 8. Fan speed control button 9. Mode selection butto ...
Copyright © www.ksportagegl.com 2015-2026
