Kia Sportage: Windshield Deicer / Windshield Deicer Switch Repair procedures
Kia Sportage QL (2015-2026) Service Manual / Body Electrical System / Windshield Deicer / Windshield Deicer Switch Repair procedures
| Inspection |
| 1. |
In the body electrical system, failure can be quickly diagnosed by using
the vehicle diagnostic system (KDS/GDS).
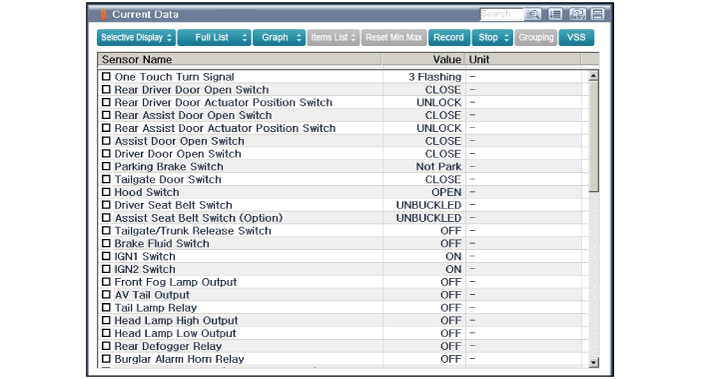
The diagnostic system (KDS/GDS) provides the following information.
|
| 2. |
Select the 'Car model' and the 'Body Control Module (BCM)' to be checked
in order to check the vehicle with the tester.
|
| 3. |
Select the 'Current Data' menu to search the current state of the input/output
data.
|
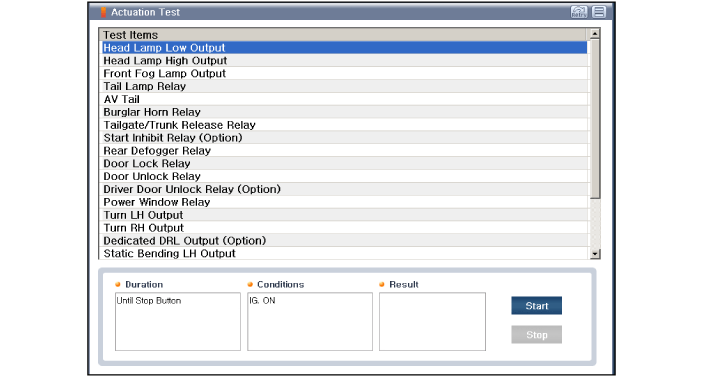
| 4. |
To forcibly actuate the input value of the module to be checked, select
option 'Actuation Test'
|
| Removal |
| 1. |
Disconnect the negative (-) battery terminal.
|
| 2. |
Remove the heater and A/C controll unit.
(Refer to Heating, Ventilation, Air conditioning - "Heater & A/C Control
Unit (Dual)")
|
| Installation |
| 1. |
Install the heater and A/C control unit.
|
| 2. |
Connect the negative (-) battery terminal.
|
 Windshield Deicer Repair procedures
Inspection
1.
Remove the cowl top cover.
(Refer to Body - "Cowl Top Cover")
2.
Disconnect the windshield deicer conne ...

Other information:
Kia Sportage QL (2015-2026) Service Manual: Front Seat Belt Buckle Repair procedures
Replacement 1. Remove the front seat assembly. (Refer to Front Seat - "Front Seat Assembly") 2. Disconnect the front seat belt buckle connector wiring (A). 3. Remove the front se ...
Kia Sportage QL (2015-2026) Service Manual: Tailgate Assembly Repair procedures
Replacement Wear gloves to protect hands from injury. When removing and installing the tail gate, an assistant is needed. ...
Copyright © www.ksportagegl.com 2015-2026
