
Kia Sportage: Coupling Assembly / Pressure Sensor Repair procedures
Kia Sportage QL (2015-2026) Service Manual / 4 Wheel Drive (4WD) System / Coupling Assembly / Pressure Sensor Repair procedures
| Inspection |
If you have trouble code related to the pressure sensor check pressure
sensor according to the inspection process.
|

| Pressure Sensor Inspection Procedure |
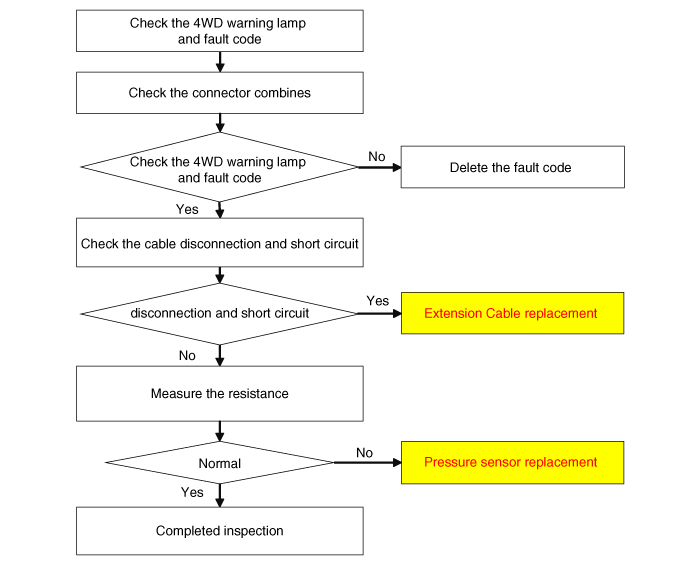
| Measure the resistance of pressure sensor |
| 1. |
Turn ignition switch OFF.
|
| 2. |
Disconnect the pressure sensor connector.
|
| 3. |
Measure resistance between sensor terminal and terminal.
|
| 4. |
Check the measured resistance. (Refer to table)
|
| Removal |
| 1. |
Remove the coupling assembly.
(Refer to Coupling Assembly - " Direct Electro Hydraulic Actuator Coupling")
|
| 2. |
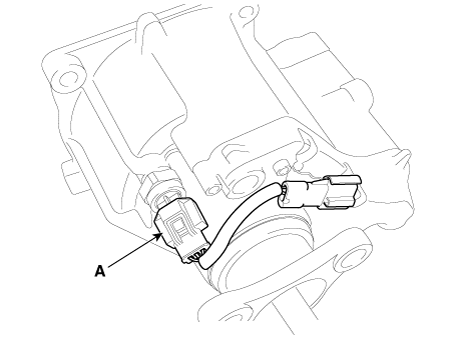
Remove the extension cable (A).
|
| 3. |
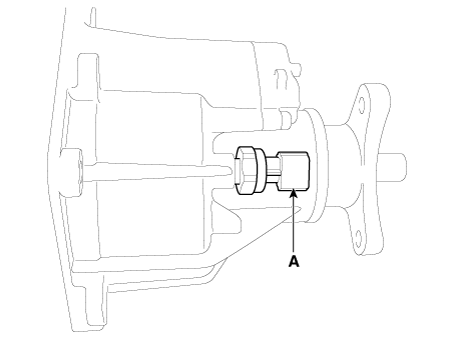
Remove the pressure sensor (A) with 24mm socket.
|

| Installation |
|
| 1. |
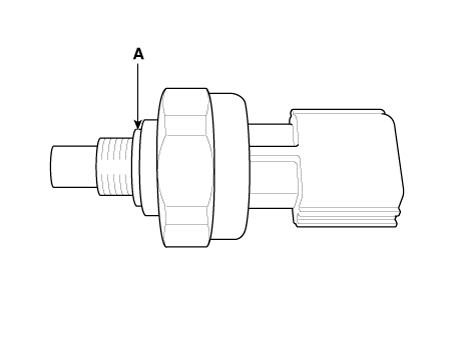
Install in the reverse order of removal.
|
 Pressure Sensor Description and operation
Description
The 4WD ECU makes a Motor Pump(Actuator) turn round for generating an oil pressure.
And then it presses a multiple disk clutch and transfers the generated torque
into ...

Other information:
Kia Sportage QL (2015-2026) Service Manual: Components and components location
Component Location 1. Rear wiper arm & blade 2. Rear wiper arm nut 3. Rear wiper grommet 4. Rear wiper motor assembly 5. Rear wiper motor bolt ...
Kia Sportage QL (2015-2026) Service Manual: Components and components location
Components 1. Rear door trim 2. Rear door panel & module 3. Rear door division channel 4. Rear door fixed glass 5. Rear door body side weatherstrip 6. Rear door side weatherstrip 7. Rear door frame moulding 8. Rear door belt outsid ...
Copyright © www.ksportagegl.com 2015-2026
