Kia Sportage: Power Door Locks / Power Door Lock Switch Repair procedures
Kia Sportage QL (2015-2026) Service Manual / Body Electrical System / Power Door Locks / Power Door Lock Switch Repair procedures
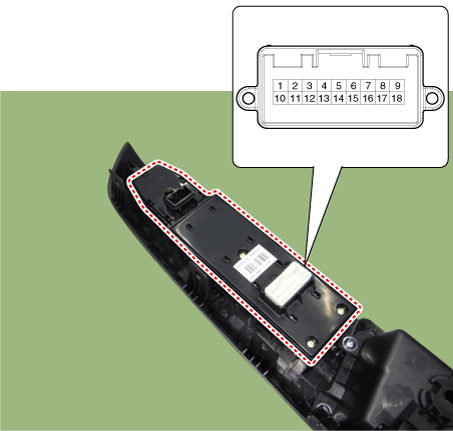
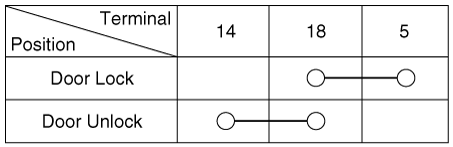
| Inspection |
Power Door Lock Switch Inspection
| 1. |
Check for continuity between the terminals. If there is an abnormality,
replace the switch.
|
| Removal |
Driver Power Door Lock Switch
|

| 1. |
Disconnect the negative (-) battery terminal.
|
| 2. |
Remove the front door trim.
(Refer to Body - "Front Door Trim")
|
| 3. |
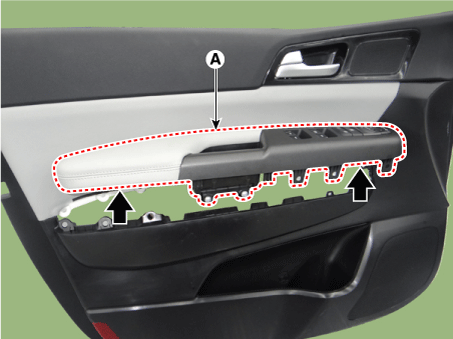
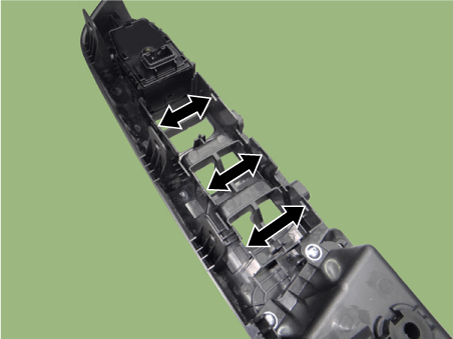
Loosen the front door trim armrest assembly mounting screws.
|
| 4. |
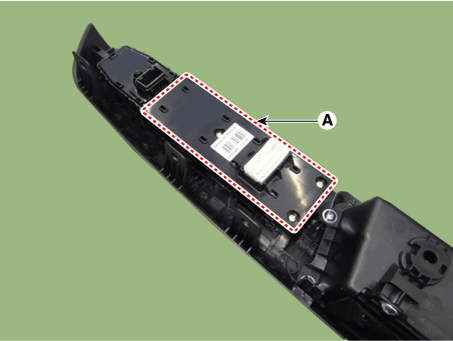
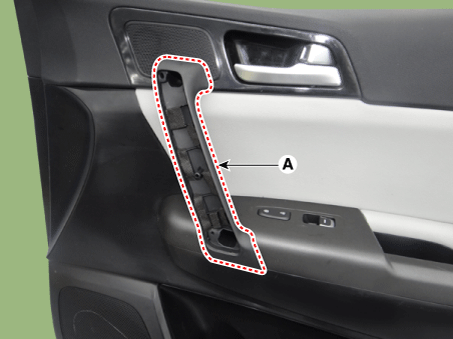
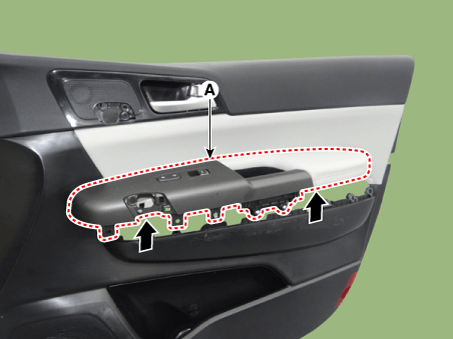
Remove the front door trim armrest assembly (A).
|
| 5. |
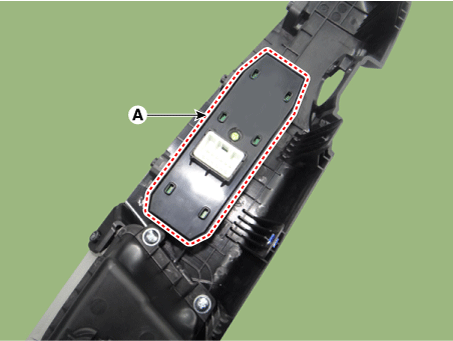
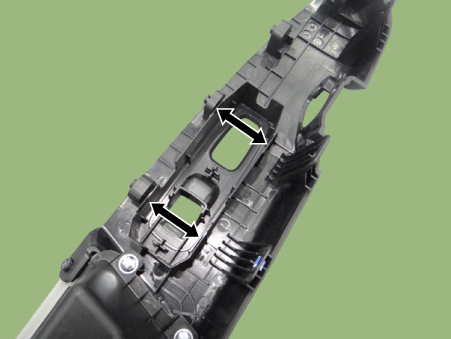
Remove the front door power window switch assembly (A) after disengaging
the mounting clips.
|

Assist Power Door Lock Switch
|
| 1. |
Disconnect the negative (-) battery terminal.
|
| 2. |
Remove the front door trim.
(Refer to Body - "Front Door Trim")
|
| 3. |
Loosen the front door inner grip handle mounting screws.
|
| 4. |
Remove the front door inner grip handle (A).
|
| 5. |
Loosen the front door trim armrest assembly mounting screws.
|
| 6. |
Remove the front door trim armrest assembly (A).
|
| 7. |
Remove the front door power window switch assembly (A) after disengaging
the mounting clips.
|
| Installation |
Driver Power Door Lock Switch
| 1. |
Install the front door power window switch assembly.
|
| 2. |
Install the front door trim armrest assembly.
|
| 3. |
Install the front door trim.
|
| 4. |
Connect the negative (-) battery terminal.
|
Assist Power Door Lock Switch
| 1. |
Install the front door power window switch assembly.
|
| 2. |
Install the front door trim armrest assembly.
|
| 3. |
Install the front door inner grip handle.
|
| 4. |
Install the front door trim.
|
| 5. |
Connect the negative (-) battery terminal.
|
 Power Door Lock Module Repair procedures
Inspection
•
When removing with a flat-tip screwdriver or remover, wrap protective
...

Other information:
Kia Sportage QL (2015-2026) Service Manual: Components and components location
Components Location 1. Rear driveshaft LH 2. Coupling assembly 3. Rear differential carrier assembly 4. Rear driveshaft RH 5. Propeller shaft ...
Kia Sportage QL (2015-2026) Service Manual: Oil Pump Description and operation
Description • The oil pump is integrated with 26 brake chamber. • Rotation of the pump builds the hydraulic pressure needed for lubricating various parts of the transaxle and operation of the clutch and brakes, and circula ...
Copyright © www.ksportagegl.com 2015-2026
