Kia Sportage: Brake System / Stop lamp switch Repair procedures
Kia Sportage QL (2015-2026) Service Manual / Brake System / Brake System / Stop lamp switch Repair procedures
| Adjustment |
| 1. |
Turn ignition switch OFF and disconnect the negative (-) battery terminal.
|
| 2. |
Remove the lower crash pad.
(Refer to Body - "Crash Pad")
|
| 3. |
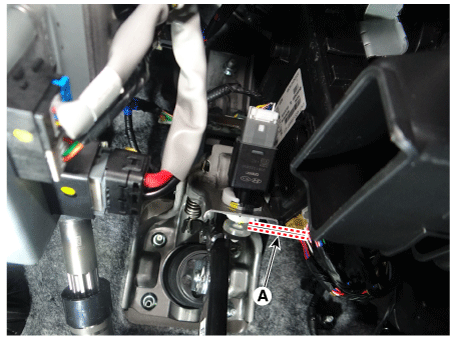
Confirm the gap between stop lamp switch and bracket.
|
| 4. |
If the gap between stop lamp switch and bracket is not 1.0 - 2.0 mm
(0.04 - 0.08 in), check the mounting clip and other part of around stop
lamp.
|
| 5. |
If there is normal, remove the stop lamp switch and then install again.
|
| Inspection |
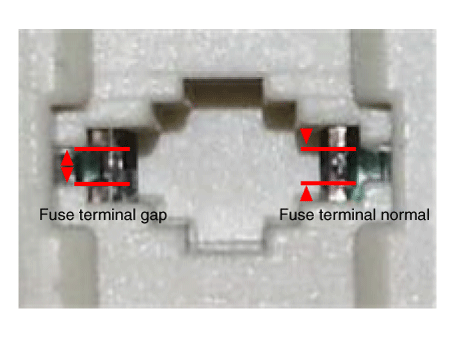
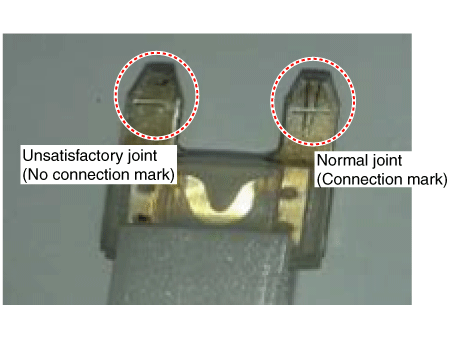
1. Fuse inspection
Mount the test fuse to the switch fuse and relay fuse part to confirm a normal
joint fit.
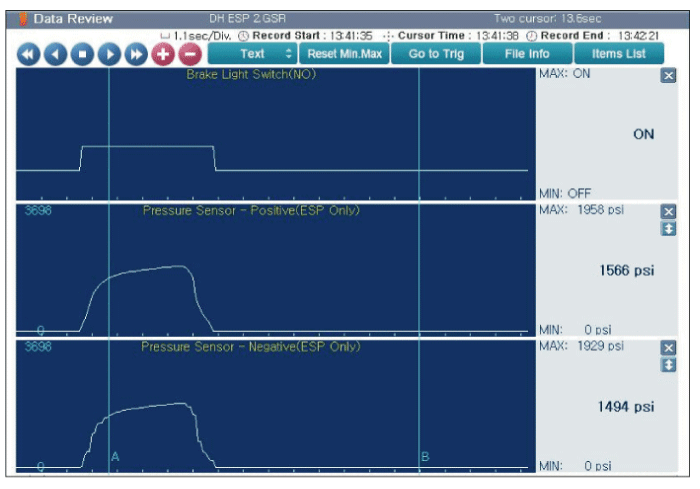
2. GDS Data Analysis
| 1. |
Analyze GDS data and confirm if there is anything wrong with the stop
lamp switch.
|
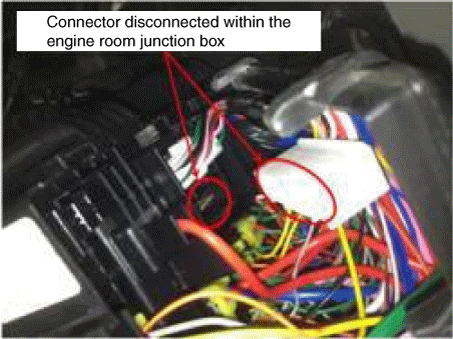
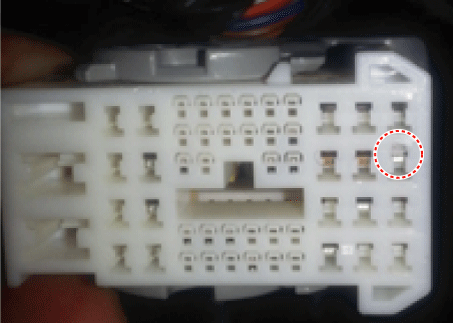
3. Inspection of connector by each part
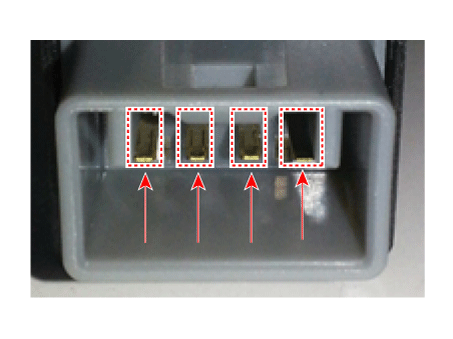
Check to see whether or not each connector has been damaged, or terminal surge,
or incomplete connection has taken place
[Engine room junction box]
[ABS/VDC control module]
4. Inspect the stop lamp circuit
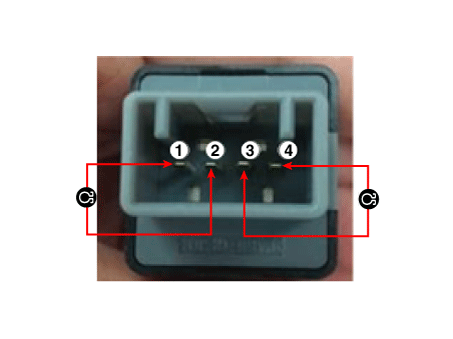
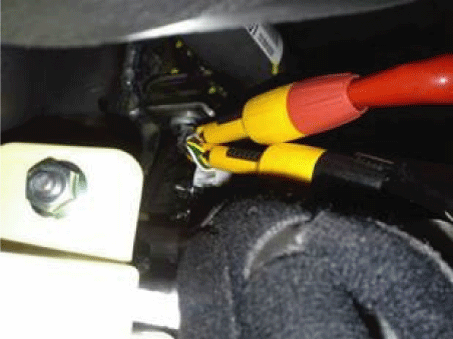
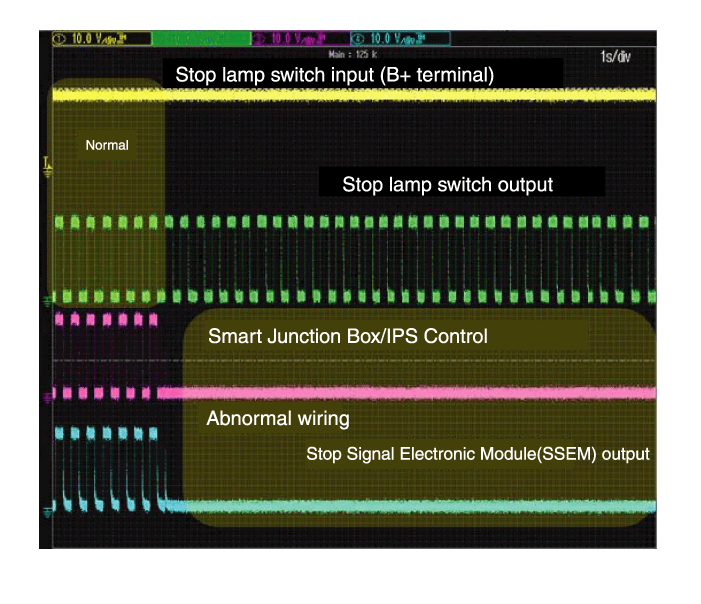
Connect probe to each terminal wire and confirm oscilloscope waveform.
[Stop lamp switch input/output]
[Oscilloscope waveform screen]
| Removal |
| 1. |
Turn ignition switch OFF and disconnect the negative (-) battery terminal.
|
| 2. |
Remove the lower crash pad.
(Refer to Body - "Crash Pad")
|
| 3. |
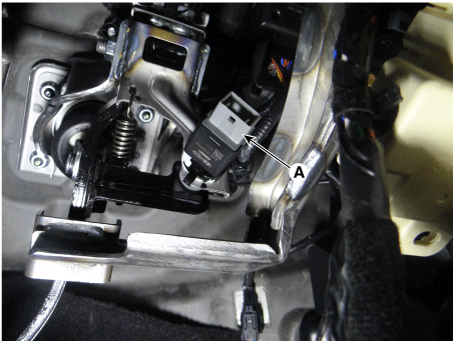
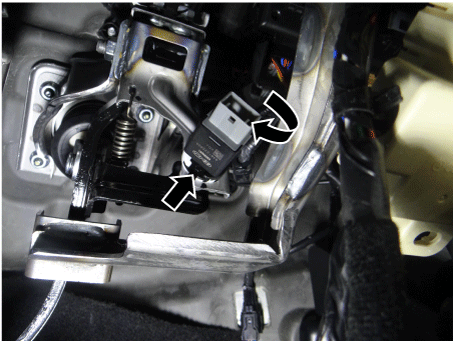
Disconnect the stop lamp switch connector (A).
|
| 4. |
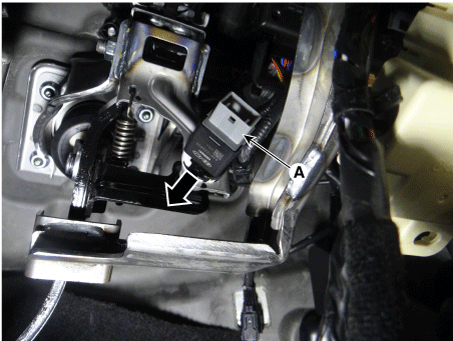
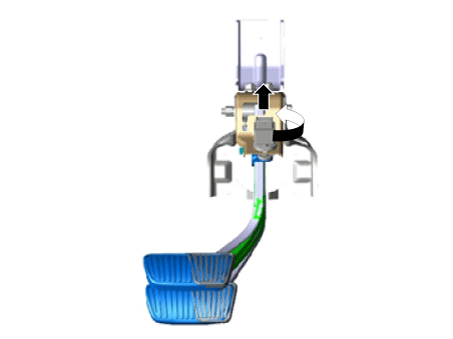
Pull the locking plate (A) as indicated by the arrow.
|
| 5. |
Turn stop lamp switch 45° counterclockwise and remove it.
|
| 6. |
Inspect a removed stop lamp switch along the below procedures.
|
| Installation |
| 1. |
Fix the brake pedal arm and insert fully the stop lamp switch as hiding
contact part.
|
| 2. |
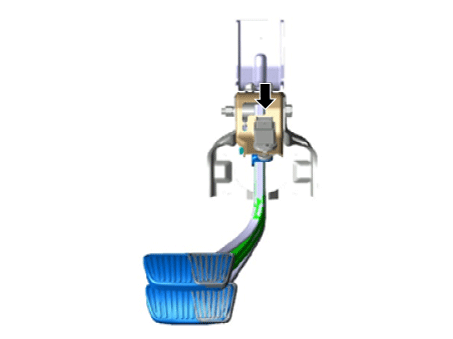
After inserting, turn the stop switch (A) 45° clockwise, and then assemble
locking plate by pushing.
|
| 3. |
Confirm the gap between stop lamp switch and bracket.
|
| 4. |
Connect the stop lamp switch connector.
|
| 5. |
Install the lower crash pad.
(Refer to Body - "Crash Pad")
|
 Stop lamp switch Troubleshooting
Troubleshooting
1.
Part diagnosis
Items
Cause
Symptom
S ...
Other information:
Kia Sportage QL (2015-2026) Owners Manual: System malfunction
■ Type A ■ Type B When the AEB is not working properly, the AEB warning light () will illuminate and the warning message will appear for a few seconds. After the message disappears, the master warning light () will illuminate. In this case, we recommend you to have the vehicle ...
Kia Sportage QL (2015-2026) Service Manual: Relay Box (Passenger Compartment) Description and operation
Description Communication Network Diagram Abbreviation Expalnation ACU Airbag Control Unit ABS Anti-lock Brake System AEB Autonomous Emergency Braking ...
Copyright © www.ksportagegl.com 2015-2026


