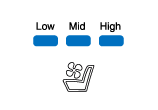
Kia Sportage: Seat Electrical / Air Ventilation Seat Repair procedures
Kia Sportage QL (2015-2026) Service Manual / Body Electrical System / Seat Electrical / Air Ventilation Seat Repair procedures
| Removal |
[Ventilation Blower]
| 1. |
Disconnect the negative (-) battery terminal.
|
| 2. |
Remove the front seat assembly.
(Refer to Body - "Front Seat Assembly")
|
| 3. |
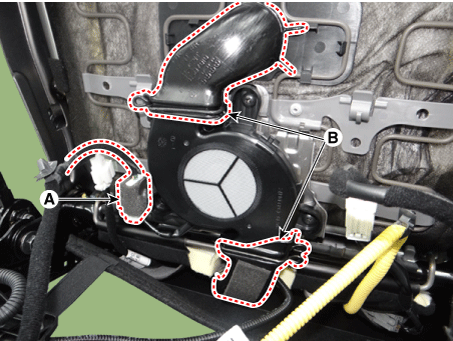
Disconnect the blower connector (A) after removing the retaining clips
(B).
|
| 4. |
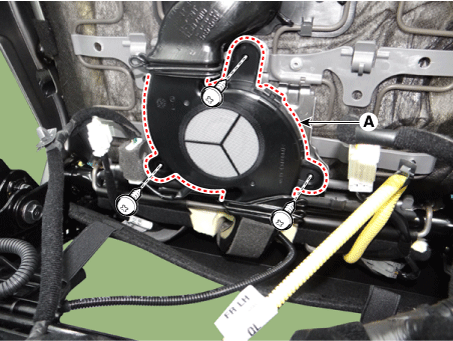
Remove the blower FAN (A) after removing the screws.
|
[Ventilation Seat Unit]
[Power Seat Type]
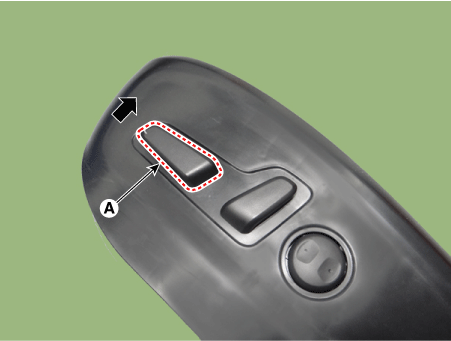
Before removing the passenger side seat assembly, pull upward to the
maximum by pushing the front seat height adjusting switch (A).
|
| 1. |
Disconnect the negative (-) battery terminal.
|
| 2. |
Remove the assist front seat assembly.
(Refer to Body - "Front Seat Assembly")
|
| 3. |
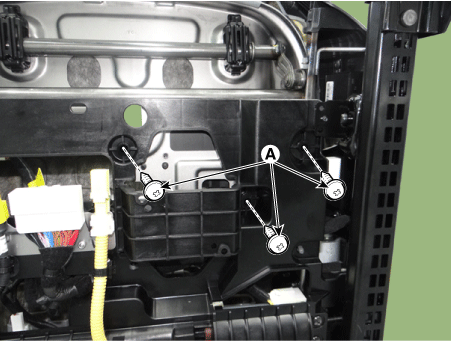
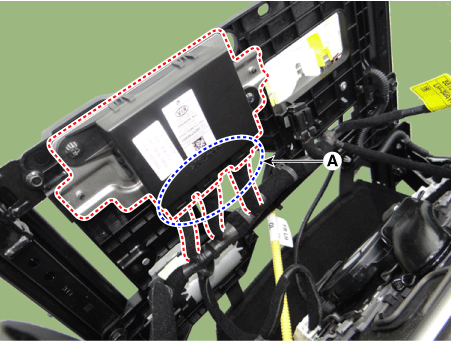
Loosen the screws (A) from the ventilation seat unit.
|
| 4. |
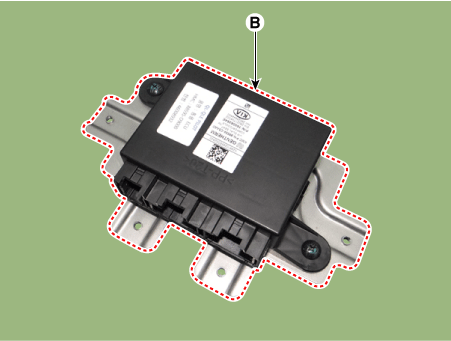
Remove the ventilation seat unit (B) after disconnecting the connectors
(A).
|
| Installation |
[Ventilation Blower]
| 1. |
Install the blower fan.
|
| 2. |
Install the blower duct.
|
| 3. |
Install the front seat assembly.
|
| 4. |
Connect the negative (-) battery terminal.
|
[Ventilation Seat Unit]
| 1. |
Install the ventilation seat unit.
|
| 2. |
Install the assist front seat assembly.
|
| 3. |
Connect the negative (-) battery terminal.
|
| Inspection |
Diagnosis mode
| 1. |
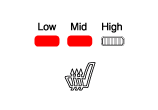
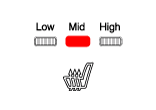
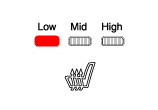
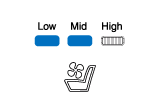
You can enter the diagnosis mode by turning the ventilation seat button
on.
|
| 2. |
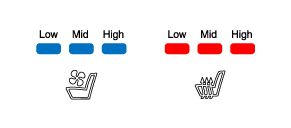
You can enter the diagnosis mode by referring to following description.
|
| 3. |
After entering the diagnosis mode, you can check what failed by checking
the blinking LED.
[Ventilation & Heater Switch]
|
| 4. |
You can check the malfunctioning by checking the blinking LED.
|
| 5. |
The ventilating seat unit will record the malfunctioning that occurred.
|
| 6. |
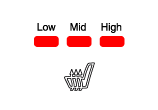
If you press the passenger seat heating button for more than five seconds,
the LED for malfunctioning memory will blink four times and the recorded
memory will be deleted.
|
| 7. |
Pressing the IGN OFF button will end the diagnosis mode for the ventilating
seat.
|
| 8. |
You can check wheter the ventilating seat system works properly after
turning the IGN ON. If you want to check the error code, you can refer
to the procedure of 2 above.
|
 Air Ventilation Seat Schematic diagrams
Circuit Diagram
...
 Lumbar Support Units Repair procedures
Removal
1.
Disconnect the negative (-) battery terminal.
2.
Remove the front seat back cover.
(Refer to Body - "Front Seat ...
Other information:
Kia Sportage QL (2015-2026) Owners Manual: Owner maintenance schedule
When you stop for fuel: Check the engine oil level. Check the coolant level in the coolant reservoir. Check the windshield washer fluid level. Look for low or under-inflated tires. WARNING - Hot coolant Be careful when checking your engine coolant level when the engine is hot. Scaldi ...
Kia Sportage QL (2015-2026) Service Manual: Power Door Mirror Actuator Repair procedures
Inspection 1. Disconnect the negative (-) battery terminal. 2. Remove the front door quadrant inner cover (A). 3. Disconnect the power door mirror connector from the harness. ...
Copyright © www.ksportagegl.com 2015-2026


